First, I sculpt figures with Polymer Clay. This kind of clay will harden up in an oven when baked (often at around 130° Celsius). Polymer clay has the advantage that you can theoretically work on it for an infinite time, since it won’t dry by air. Theoretically because old clay will get crumbly (several years old clay) with time.
Some clays get a different texture if they are put aside for a long time. They need to be „conditioned“ (kneaded) to return them to their soft state. This is can be a problem if the figure is half sculpted and needs refining.
Air drying clay is usually a bit cheaper than polymer clay. But if you’re working on a project for several weeks, it’s a difficult task to keep it moist for sculpting. It can dry up or get too wet and starts to deform, or worse, starts to mold.
You will face the same problem with ceramic clay. Ceramic clay can also dry by air. Also: you will have to bake/burn it with much higher temperatures (around 2000°Celsius). So you can’t do that at home, but need to find a service to do so for you.
There is a big variety of Polymer Clay, and I haven’t tried them all – I will refer to those I have worked with.
The answer is as difficult as it is easy: everyone will have preferences. From my experience that can be different from person to person. I have watched a lot „sculpting for beginners“ videos before I started sculpting. People tell „not to use clay XYZ“, when to the next video tells you „to use clay XYZ“.
Fret not: I’m not leaving you in the dark of my personal opinion.
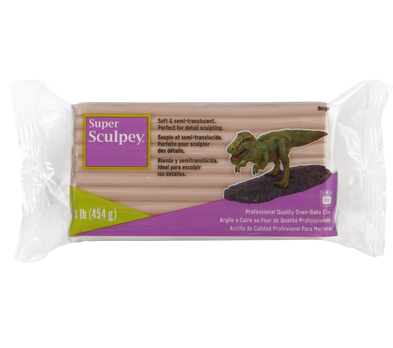
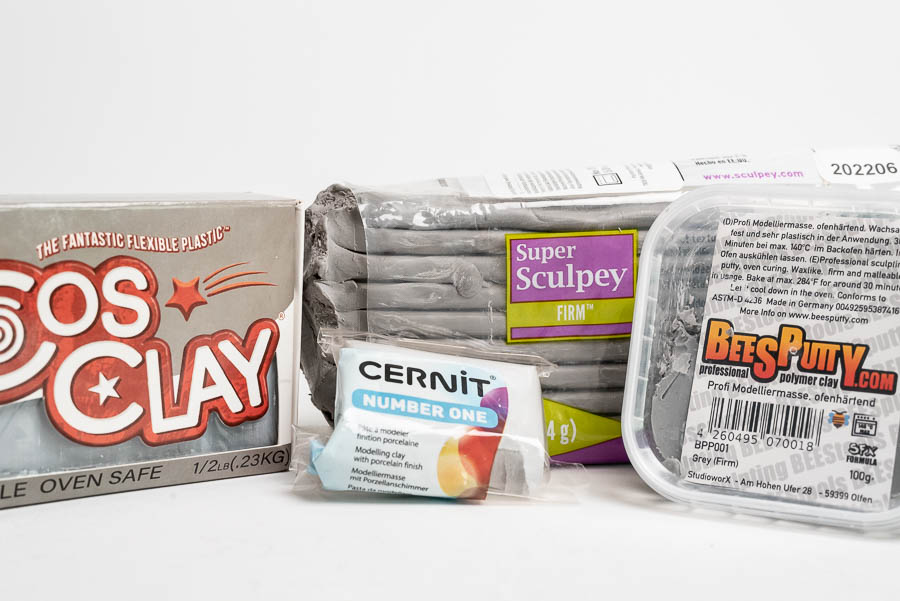
I think, from my experience, that a firmer clay is easier to use for beginners. Most people who have searched for polymer clay will have stumbled over the brand name „Super Sculpey“. This is an established clay by the brand „Sculpey“. Sculpey themselves has a variety of sub brands, but „Super Sculpey“ is their „Pro“ clay.
Super Sculpey comes in a few kinds, and among them „Firm“. Super Sculpey Firm is my personal go-to clay for basic figures.
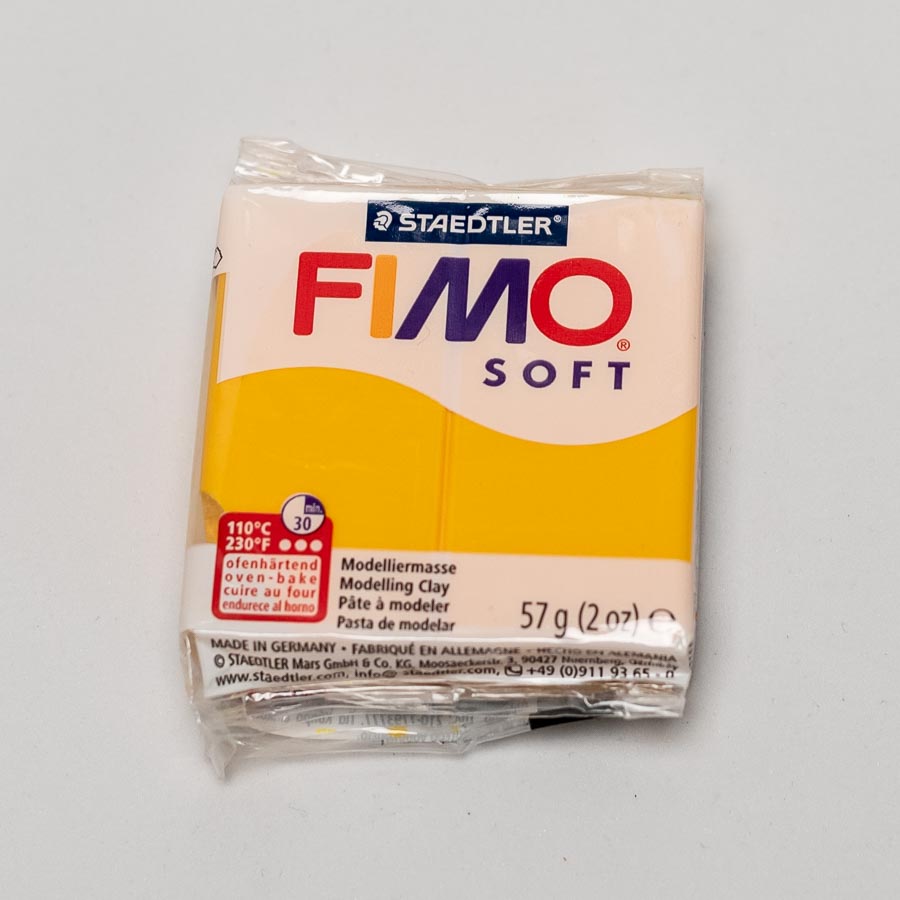
Another clay around this firmness is Fimo. Fimo is mostly known for its colorful variants and isn’t really considered a „professional clay“ (at least in Germany, where I live). But they do have a „pro“ product line, which is essentially selling black, white and gray clay in larger badges.
I’m not a big fan of Fimo, because I prefer Super Sculpeys texture, but as I said in the start, this is preference. Also, in Germany, Fimo is easier to come by as Super Sculpey, as it is usually in stock in every craft store.
The equivalent of sculpey to Fimo is Sculpey Premo. This is a reasonably firm clay as well, and in my eyes suited well for beginners.

Here in Germany, it’s rare to find Super Sculpey firm in a store. I’m ordering mine at modellierbu.de. You can find a vide variety of clay brands in their shop.
Now that I’ve put some brand names down, let me tell you why I think that firmer clay is better for beginners:
As I said there are a lot of other brands or sub brands of clay (let alone Sculpey has a big product variety). I only worked with a small portion of them – here’s my experiences. I’m going to add to them as time goes on and I try different brands.
Super sculpey beige is a softer variant of Super sculpey. Compared to the gray version it’s a lot more smooshy and soft. This gave me a bit of trouble keeping already sculpted parts in shape and not to destroy them by touching them. If you’re not experienced, you might have to bake the figure more times in between the sculpting process. That makes sculpting individual parts easier.
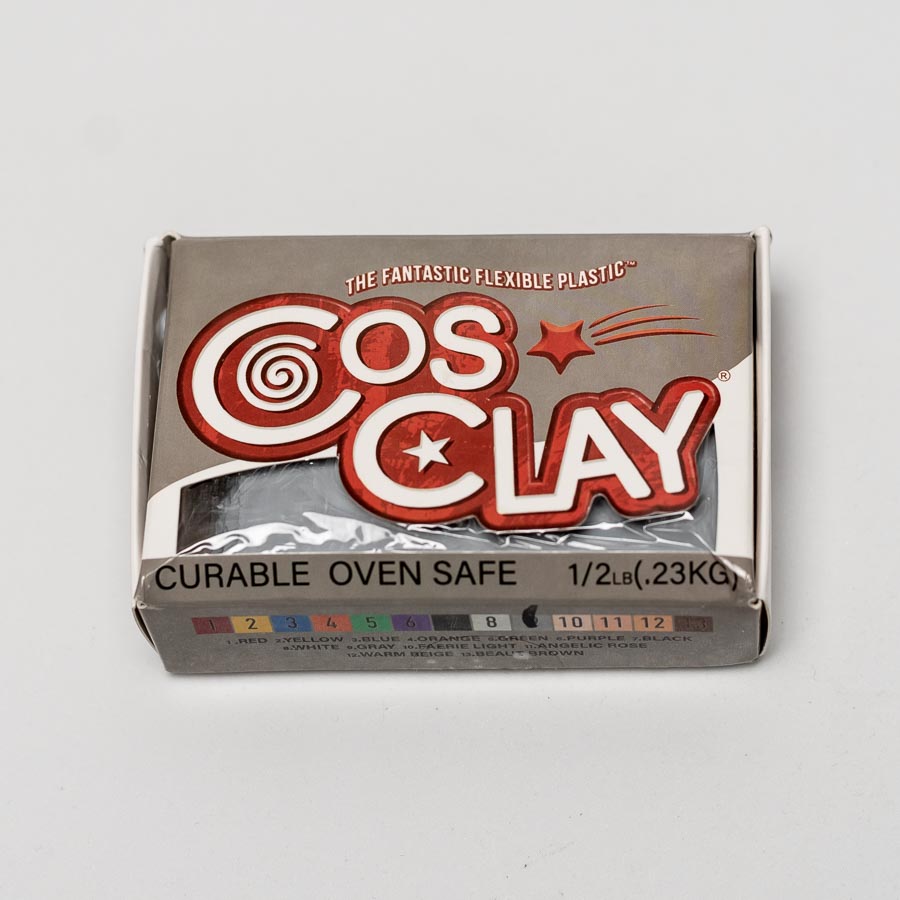
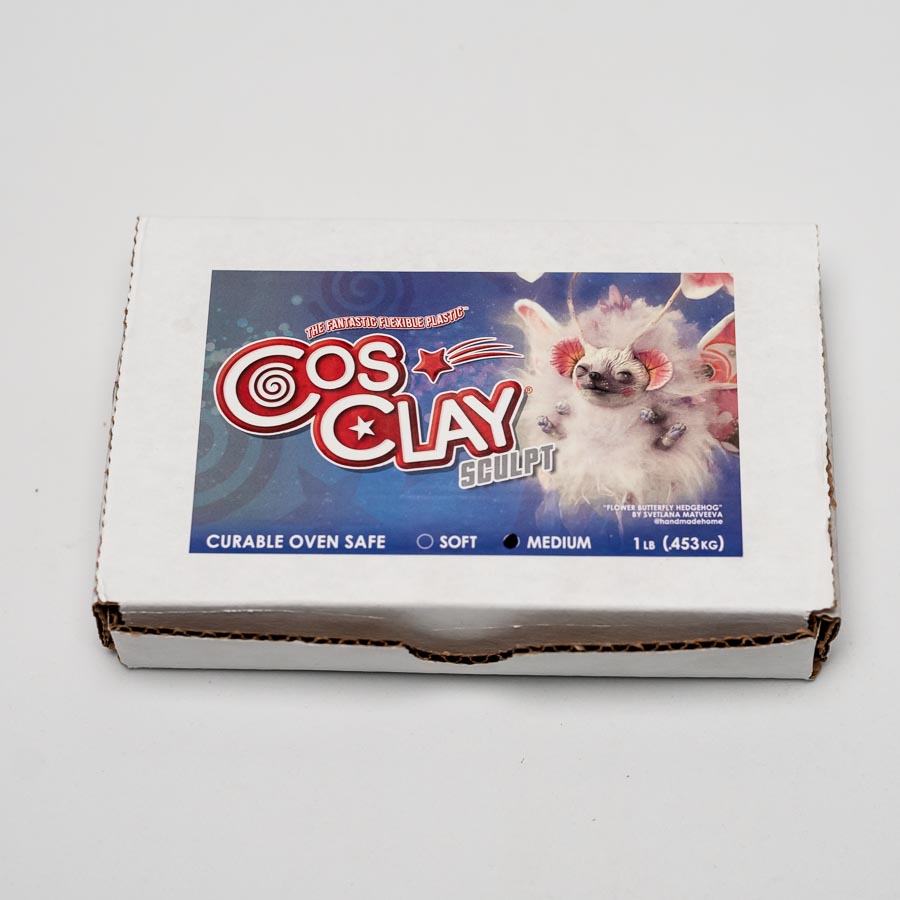
Cosclay is a relatively new clay that has some interesting attributes: if baked correctly, it stays flexible. That means you can bend it without breaking which makes shipping figures a lot easier.
There are four sub brands that are similar clay, three of them feature different colors and different density (soft, medium firm, doll). Their touch is very soft and in my opinion great for details. It is, however, hard to work with on a whole sculpture if you’re a beginner. I use it for stick-out-details that run in danger of breaking, or to sculpt small details.
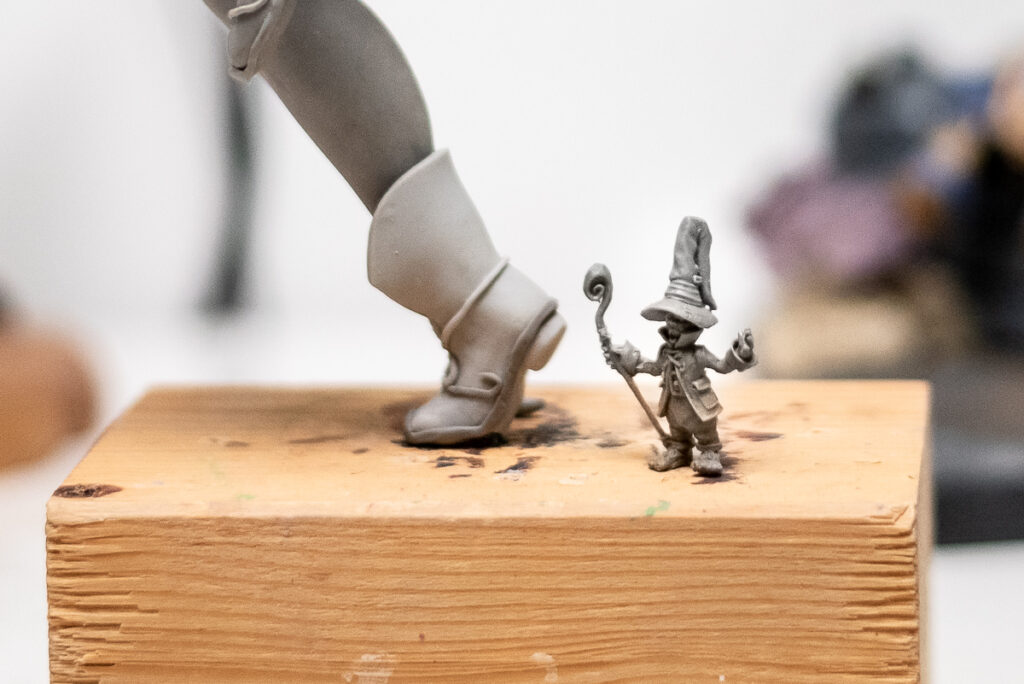
The one that stands out to me is Cosclay Extra-firm. It has around the firmness of sculpey firm, a very nice and not oily touch, and close to now memory when blending, so you can easily blend parts seamlessly. This is a new version of their first kickstarter clay, that has definitely improved.
Top: Kickstarter Version of Cosclay
Bottom: Retail Version of Cosclay
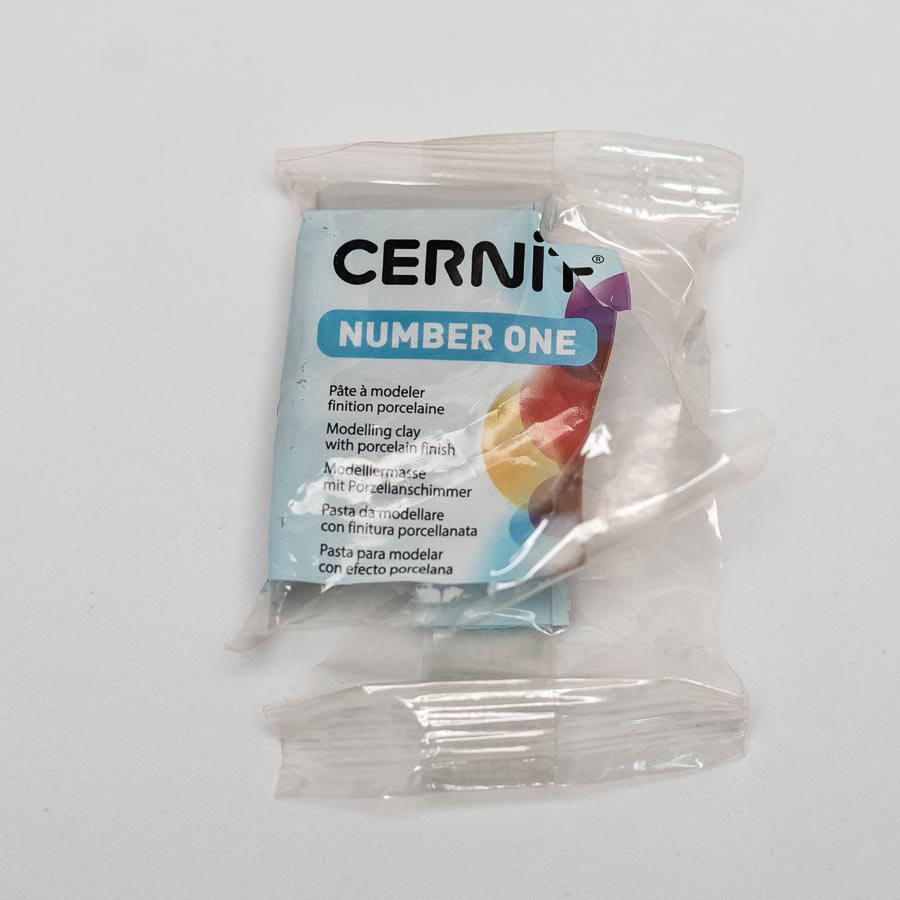
Cernit is a rather overlooked clay in the face of Cosclay nowadays – the „base“ clay, „Cernit One“ is similar to it in attributes. It is a bit softer than Cosclay Kickstarter. On the other hand, it’s a bit firmer than Super Sculpey Firm. It feels similar in touch, and it stays flexible after baking. When I tested in on a sheet of about 1 mm strength, I could almost fold it, with just a few stretchmarks.
There is a translucent version of Cernit that is easily to dye with alcohol based ink. It gets milky white after baking and stays very flexible as well. However, when it’s conditioned, it can take on a texture that feels almost like bubble gum. Or kneadable erasers. So it is hard to sculpt with it.
I’m sorry the packaging is so wrecked! I’m going to take a new picture when I order new Cernit.
Top: Cernit One
Bottom: Cernit Translucent

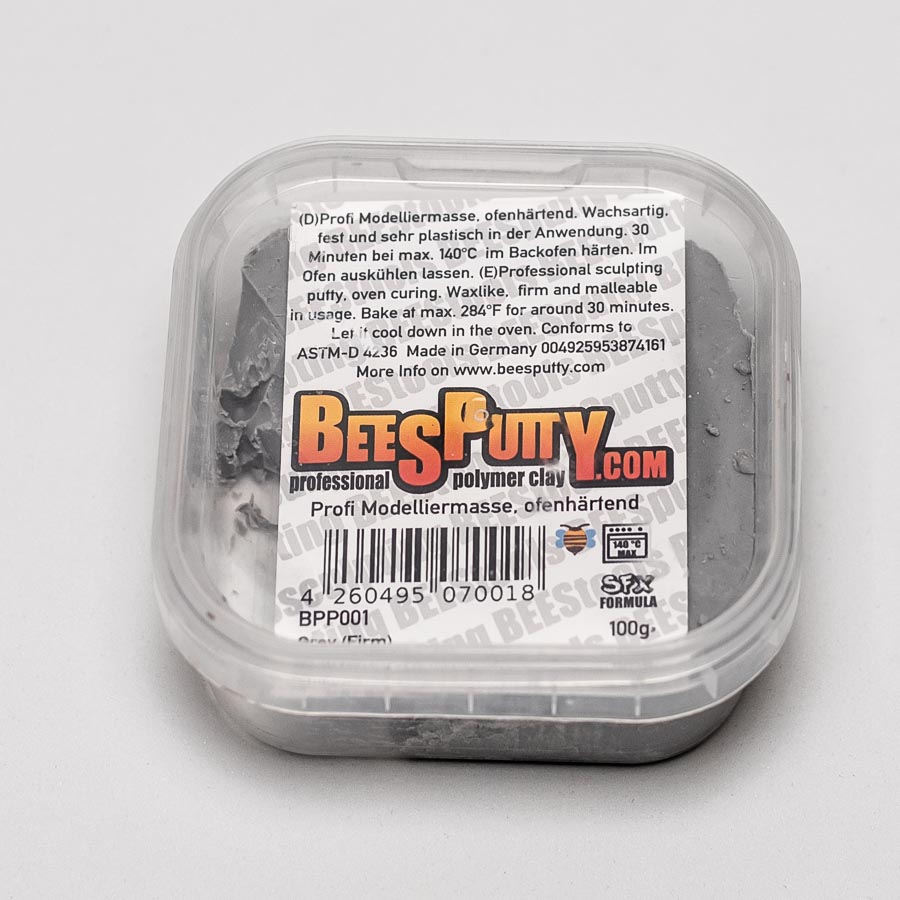
Bees putty is a clay that is made to behave like beeswax. That makes it stick better to already baked clay and armatures (wire skeleton cores of sculpts). It is a bit sticky. I use it to help my Sculpey stick to armatures and for small pieces with armature like Hands. Bees Putty is also less rigid than sculpey and breaks less easily. One thing to keep in mind is that it gets a waxy surface and needs to be treated with solvent (like Acetone) before painting.
Fimo is easy to come by in my country, thus it’s the first polymer clay that people in general work with. Shops sell „Fimo Soft“ most of the time, which is not comparable in softness with, for example, medium firm Cosclay. It is still rather firm. The „normal“ Fimo is firmer and needs a lot of conditioning, similar to Cernit. In my experience the texture is different from Super Sculpey firm, it has less grain. That doesn’t mean Super Sculpey Firm has a lot of grain, Fimo just feels more „slippery“ to me.
Papa’s clay is yet another clay I have tried, and it feels similar to Super Sculpey Firm. The firmness and touch is very similar, though it took me longer time to condition it. It was originally way more crumbly, but that can be because it was an older badge. Unfortunately it didn’t have a date on it. Otherwise, I’d say it’s exchangeable with Super Sculpey firm.

The world of clay is big, and it’s interesting to venture out there and try all the clays! I think that using a firmer clay like Super Sculpey Firm as a base for your figure is great. But other clays can be nice additions for certain fields of use.
I use a mix of Super Sculpey, Bees Putty, Cosclay and Cernit, depending on what I do:
I hope I could give you some ideas about the question: Which polymer clay should I choose as a beginner to sculpting ! Once you got into the topic, there will be products that interest you more than others. Go and try them!
You are looking for more guides?
Here is my Tools and Material guide.
Don’t know what project to tackle first?
Here’s my advice on a good starter project!
When you’re reading this, you probably saw some really cool sculptures on the internet. A fantasy monster, a cute chibi, an elaborate anime figure… If you are anything like me, you want to start on all of these at once! But what is a good first project to start sculpting? Is it good to just throw yourself into that big fantasy dragon?
Start out with writing down a list of ideas or collecting references if you are going for fan art.
Looking at what to start out with, you may want to look at those things:
Let’s tackle those one by one.
Did you already look up and research about sculpting? Did you read or watch videos? Do you have a vague idea to tackle your project? Do you know how to keep proportions, make an armature, have an idea where to pre-bake? Visualize your ideas and see if you have an idea to tackle them. You should at least know how to start out and give your sculpture a solid base. If you don’t have any idea how to achieve that, put the project aside for now.
It is a lot easier to start a project if you have a proportional image reference. It will help you to keep your the proportions of your sculpture while you are working. No matter if it is self drawn or a screenshot from some media. Do you have the skill to visualize your project? For example draw it in a side and front view? If not, you might want to put it aside if you have more experience. Experience will make it easier to sculpt from your thoughts instead of a reference.
Video games can make great references here. These days, a lot of games feature „photo-mode“ in some form. In photo-mode you can compose and take screenshots, which helps a lot with reference and proportions.
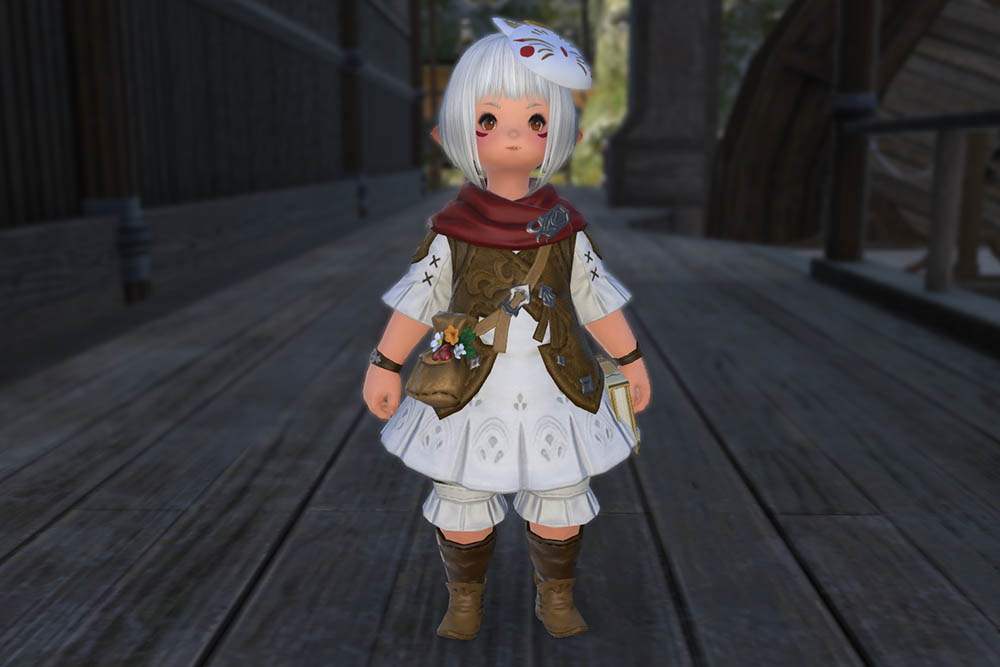
Videogames can often easily give you reference pictures from all sides
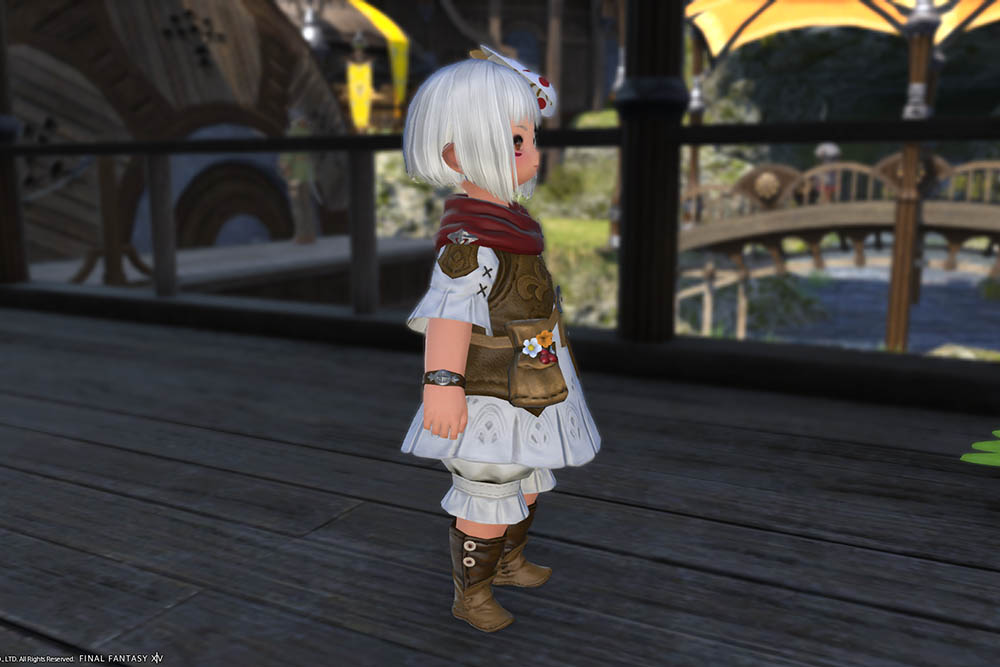
Pictures taken with gpose in Final Fantasy 14

Shelf size projects are usually more suited for beginners
Structured surfaces that do not have repeating patterns are easier to sculpt
Smooth surfaces show flaws and are harder to sculpt
This may seem like a dumb question at first. But if you know that you aren’t a very patient person, starting out on something rather detailed can be frustrating. Considering you probably don’t have much experience things will go slowly in the start. Slower than with experience. If you’re an impatient person (like me), don’t put the strain of many details on you.
To learn what is a good first project to start sculpting let’s take a look at easy and hard things to sculpt.
Obviously this is my personal experience that again and some things might be easier for me than for you and the other way round. I’m also talking about shelf-size here. Everything is more complex when it’s small and gets easier when it’s big. At least to a certain point. Maintaining proportions can be tricky if the sculpture gets huge.
Now all these are guides and, again, you might have a certain knack for something I don’t. Just try to think about the points above when tackling your first project. The most important part is that you are having fun trying. Even if the project might be a bit too difficult, as long as you’re not getting frustrated, it’s great! You can always come back to it a year or two later to see how much you have improved. This can be incredibly satisfying.
I am personally not a big fan of sculpting things you don’t like, just „to get better“. I saw someone suggest you sculpt different things like animals, cars, architecture… Yes, this is helpful when you want to pursue a career in this or an artistic field. However, if you just sculpt for fun or want to try yourself, and you’re super into Pokémon, sculpt Pokémon. It is probably more frustrating to work yourself through things you don’t like, than making 3 Pokémon until you get where you want to be.

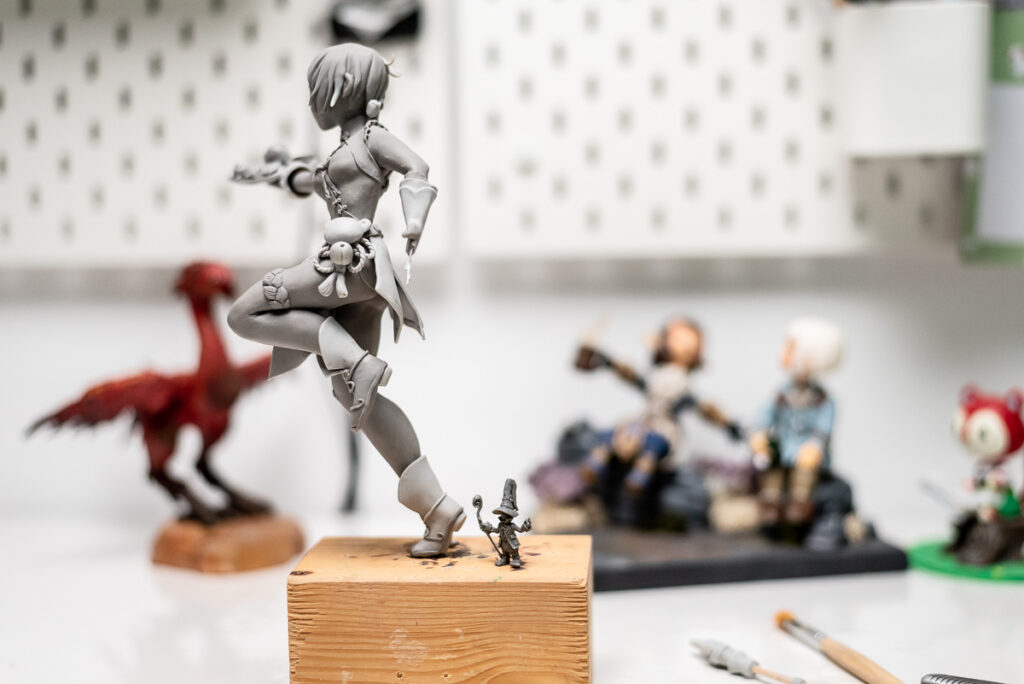
My first sculpture revisited after a year of sculpting. The idea of having my own character of FFXIV turned into a figure got me into sculpting in the first place.
So, did you decide for your first project? You can read about my clay recommendations for beginners here.
Not sure where to start with tools and materials? Hier is my Overview to sculpting.
In this beginners guide to sculpting with polymer clay, I want to show you some materials and tools that will help you when you want to start making a sculpture. Please note: you don’t need all of what I’m mentioning here to start out and to try yourself, since the cost might be intimidating. The most important thing is that you start sculpting. Everything else can come later, or in steps.
This overview to sculpting figures with polymer clay specifically talks about Polymer Clay, but why do most sculpters use Polymer Clay, or a non-curing clay (like for example Monster Clay)? When air drying clay is often much easier to obtain and also cheaper?
Of course, nothing is stopping you from starting to sculpt with air drying clay if you already have some. But there is a reason why most sculptors are not going with it: time. Often a project will take multiple days to complete, sometimes weeks or up to a year. It is hard to keep air drying clay workable over an extended period. You can wrap it into moist cloth, but will run into the problem to keep it the right amount of moist. Or it will still harden up or get too wet, which can cause it to collapse or mold.
That being said, I would personally advise you to take that money in your hand and get some polymer clay.Which clay you want to use is up to you and your preferences. You might try out several clays until you find the one that you personally prefer. I will try to make a video about the clays I use in the future. My recommendation would be super sculpey firm or sculpey premo for starters.This clay is easy to bake in the oven at 130 °C, it’s usually, even if firm, well kneadable/conditionable by hand. The firmness is nice in a way that you don’t destroy details instantly if you accidentally touch them. Also, it is in most cases well controllable with tools. Sculpey premo also does have little „memory“ when working on it, so blending parts is easy.

Air drying clay
Polymer Clay
Your life will become considerably easier if you start out making an armature for your sculpture. An armature is a wire skeleton that you can pose into its final shape and build the figure around. It will also support limbs and „stick-out“ parts in your sculpture and prevent them from collapsing.
There are, again, multiple different wires. I personally prefer about 1 mm diameter steel wire. It’s still bendable by hand, but quite sturdy and doesn’t easily deform, unlike aluminum wire, that transforms easily.
Again, this will come down to your preference and your tools. You don’t want to use a single wire as an armature, but you want to twist at least two wires around each other. It will not only help for stability, but also help clay to stick to it in places where it’s not padded.
This is most easily achieved with a drill (fold the wire in half, stick it in the drill, grab the other end with pliers and drill), that means if you don’t have one at hand, aluminum is easier for you to use. In any case, a wire cutter and pliers will help you a lot to cut and hold your wire while twisting it.
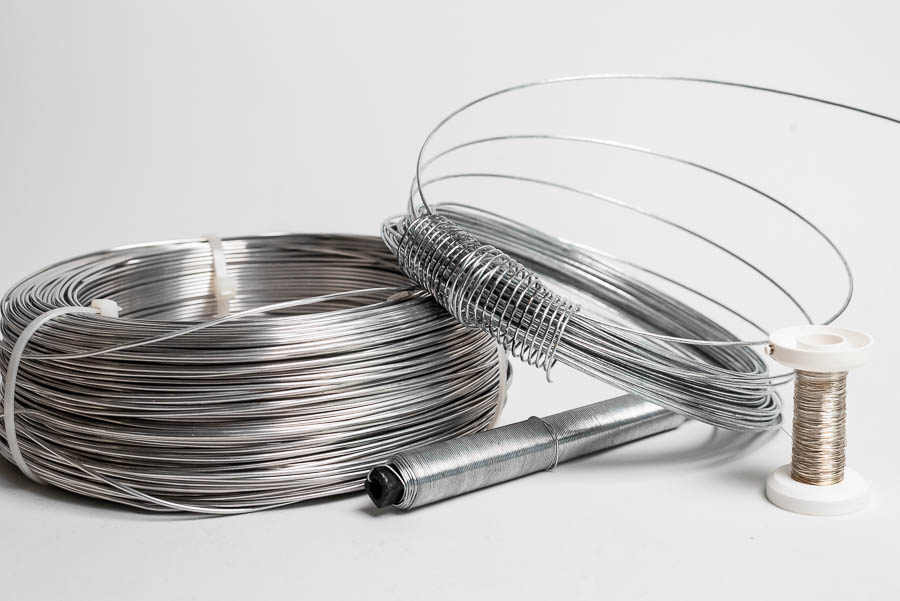
Different Wires I’m using
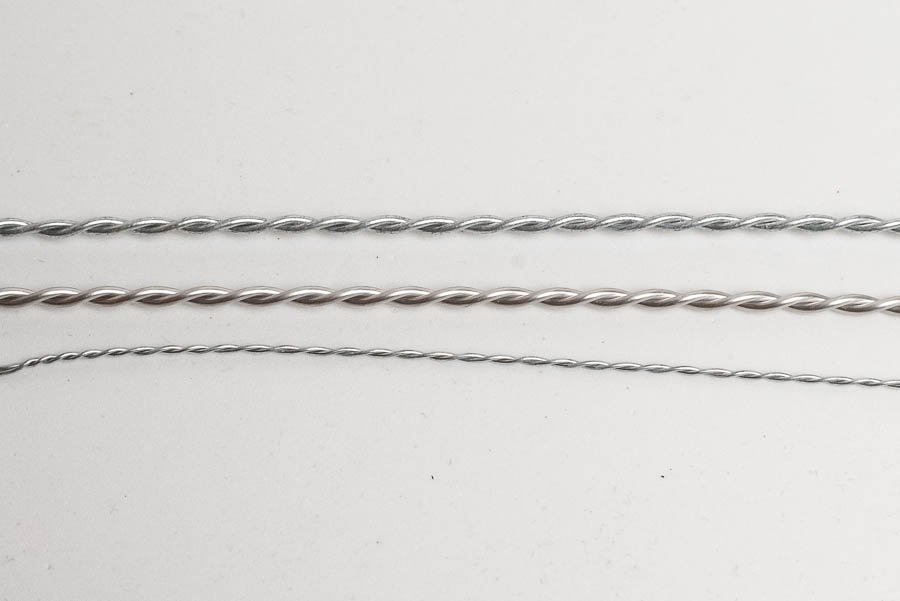
Wires twisted for Armature
More voluminous parts in sculptures are padded with aluminum foil. This has several advantages: first, you don’t need as much clay. Clay is expensive, so padding it will make a sculpture use up less.
Secondly, it will make the sculpture a bit lighter and less massive.
Thirdly it helps the sculpture to bake „from inside out“. The Foil will heat up fast in the oven and bake the clay from the inside. There is less chance of unbaked clay. If the sculpture is only made of clay, it is harder for the inside to get exposed to the right amount of heat.
You can use your kitchen aluminum foil for this.
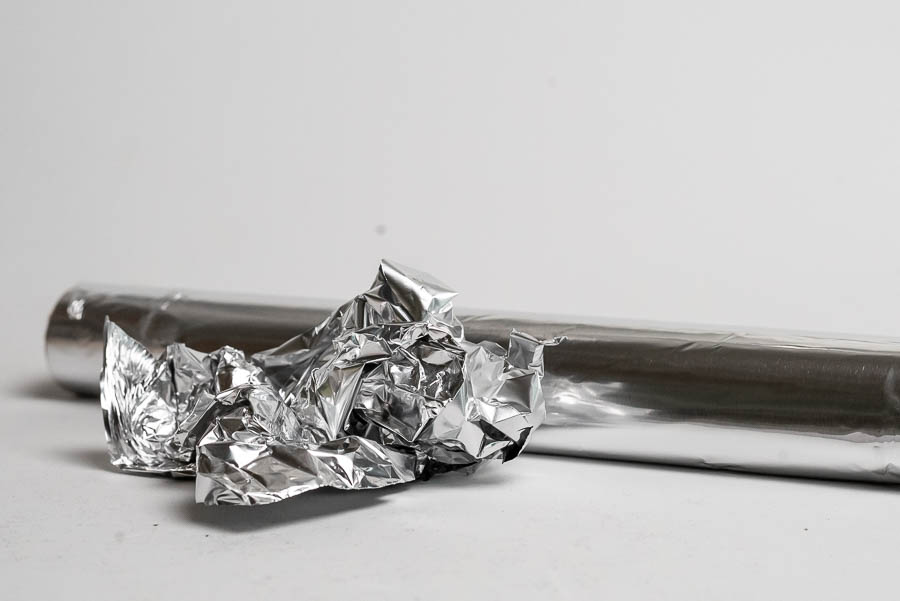
Use ordinary kitchen aluminium foil
Shaping tools will help you to refine your sculpture and sculpt little details. Don’t worry too much about them when starting out. You can literally use everything around you as a shaping tool: toothpicks, backs of spoons, dough rollers, chopsticks… There is no need for a huge collection of professional tools to start out.
If you find liking in sculpting and want to pursue the hobby further, it might be easier to invest in some wax-carving tools. They aren’t very expensive and come in a good variety in premade packs. You will find yourself using some more than others, so just try out which ones you like.
I also like to use my silicon brush. This came in a pack with some more silicone brushes that have ballpoint tools on the opposite side of the tool. These come in handy, for example when making holes for eyeballs. I have seen a fair large number of sculpters use these, you might consider getting a silicone brush in the long run.
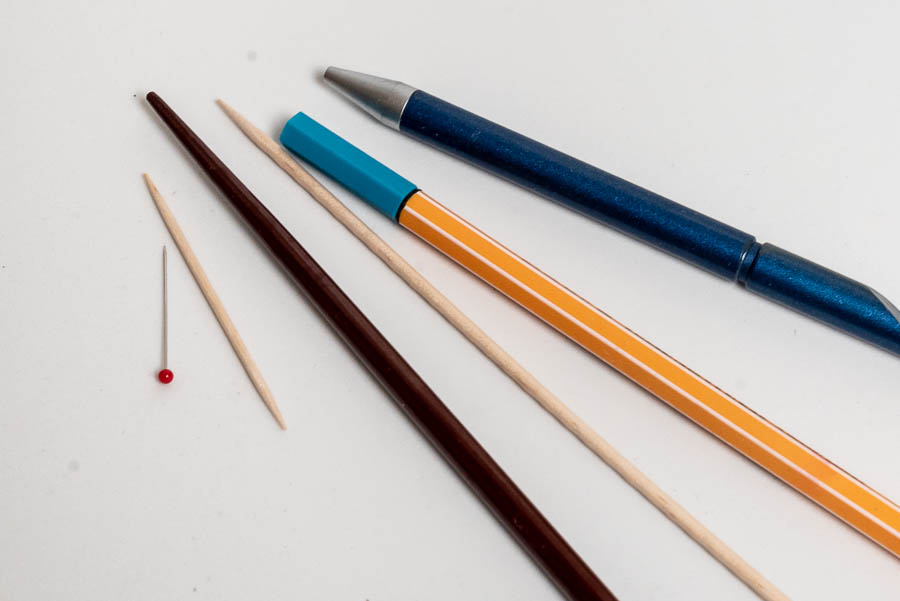
You can find all kinds of tools around the house!
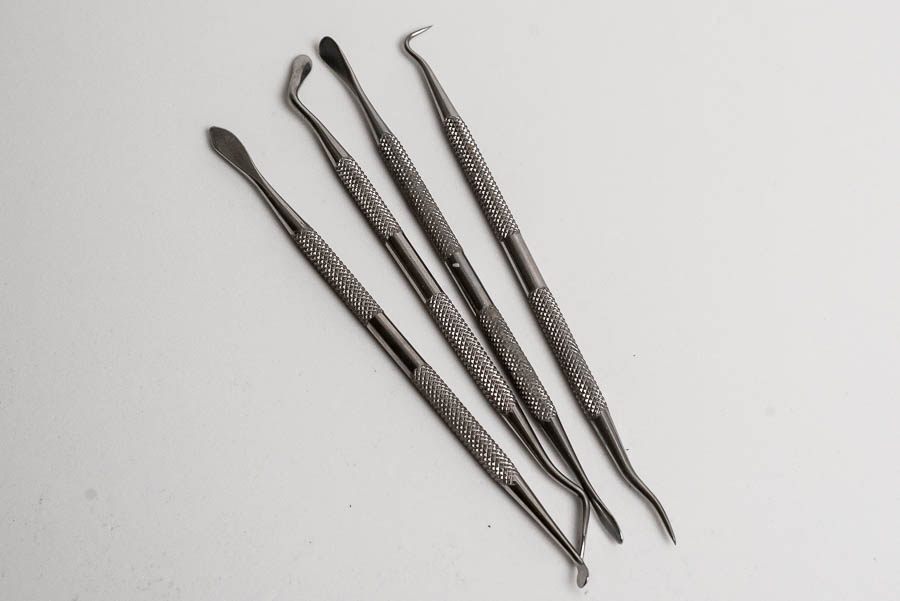
My wax carving tools (of which I use effectively mostly two)
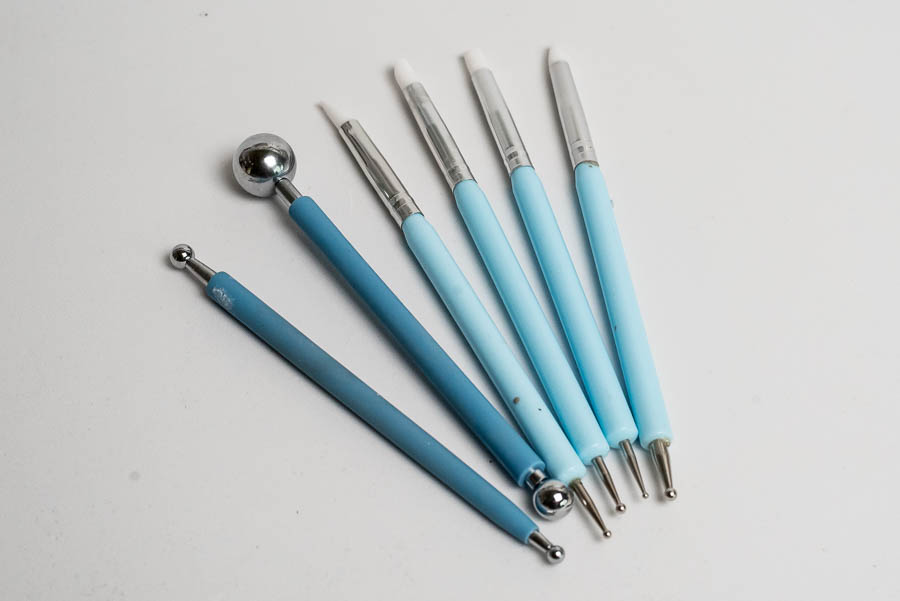
Silicone Brush and Ballpoint tool
This might sound a bit weird, but I’m not talking about drinking beer anytime you sculpt. 90% + Alcohol is used with polymer clay like water with ceramic clay. It dissolves the surface of the clay and helps to smoothen it out, remove small scratches and fingerprints. Alcohol behaves a little differently on different clays, so you need to experiment with the clay you’re using and how it reacts.
Brushes or Q-Tips can help you even out the surface or scratching away some uneven parts, depending on clay and brush.
You can start out your first sculpt without this easily though. See if you like it, and then get some alcohol for the next one.
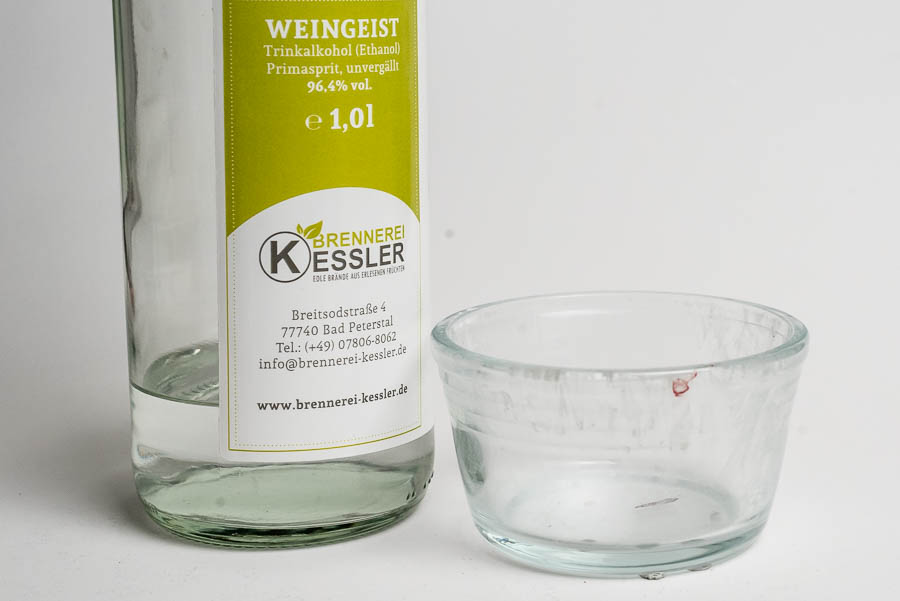
Alcohol works with polymer clay like water with air-drying- or ceramic clay
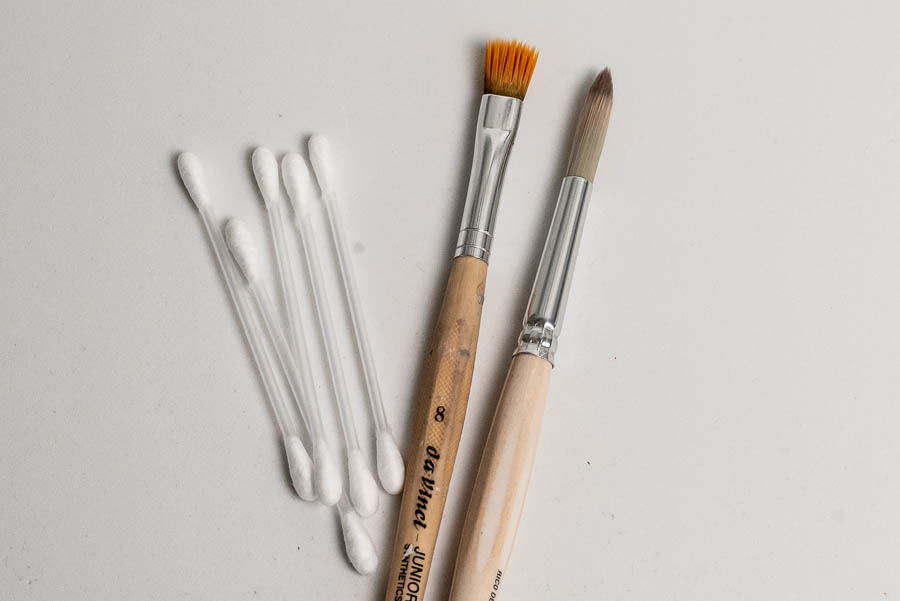
I’m using brushes and Q-Tips to smooth the surfaces
It is often easier if you have something to hold your armature and sculpt. You will see people stick their armature into a base. I use a small block of wood for this that has holes drilled into it. This way I can put the sculpture in there when I can’t hold it in my hand. Or want to rest it somewhere to get things or sculpt details. Later I replace that base with one that fits thematically to the sculpture.
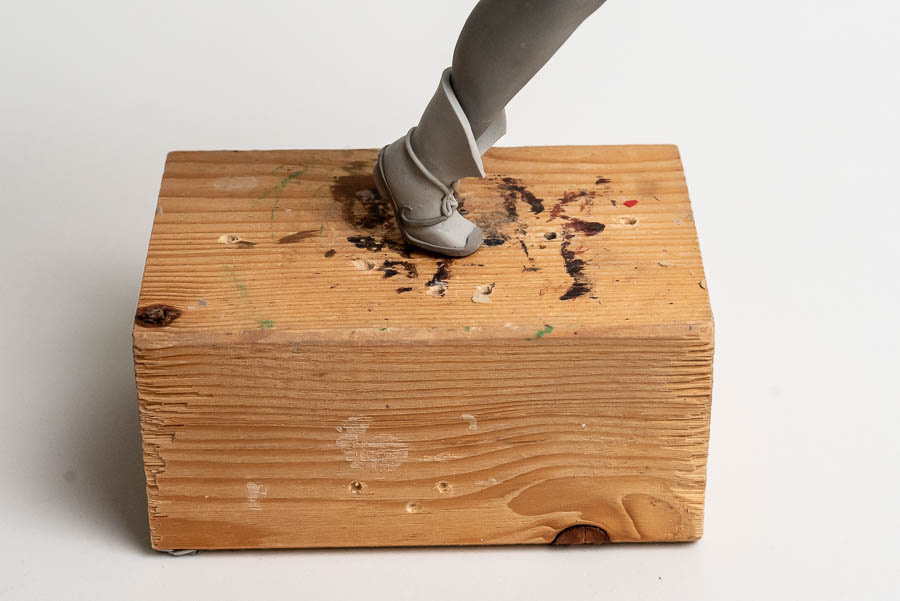
My „work in progress“ base
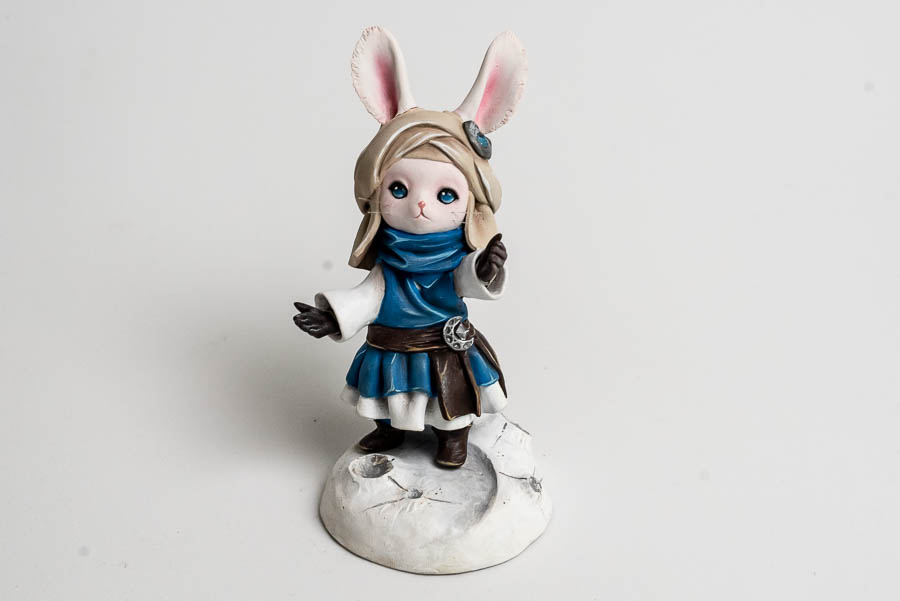
Sculpture with fitting base
This is super optional. Acetone is like alcohol on cured clay – it dissolves the surface and helps you smooth out left over fingerprints and remove dust lints on the surface.
Sanding paper
Sanding polymer clay is more of a pain than airdrying clay, but you can use sanding paper to even out the surfaces. Sponges for sanding work great, as they can be cut into smaller pieces to reach smaller parts.
If you plan on painting your Sculpture, you will also need paint. Acrylic paint works well on most Polymer Clays. They’re a bit porous and take the paint without any sort of primer. From my experience Paint for miniatures works great. Any acrylic paint you have left will suffice to try around with it.
If you want, you can also put varnish on the finished result for a more glossy, or a more matte look. I personally use varnish as a primer to shade my sculptures with pastel chalks.

Acetone helps to remove fingerprints
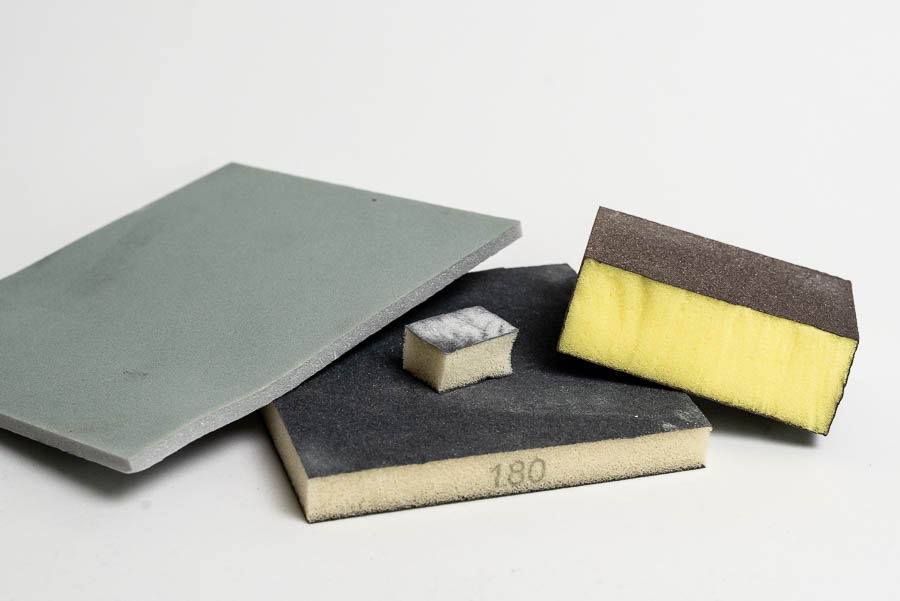
Sanding sponges are great for small details

Miniature paints are great for polymer clay
Got all your stuff? Great! Have a look at my other guides! Here you can find tipps on how to choose your first sculpting project. If you don’t know which clay to choose, I have you covered! Here’s an articles on different clays. Happy Sculpting!