You like fairies? Great, me too. I also like fairy wings and costumes… So let’s see how to make fairy wings! You can use it for any fantasy fairy, but also for those classical Tinkerbell wings.
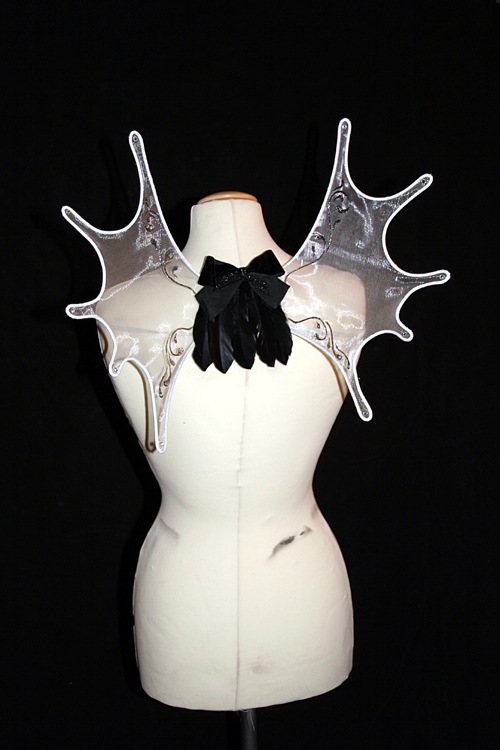
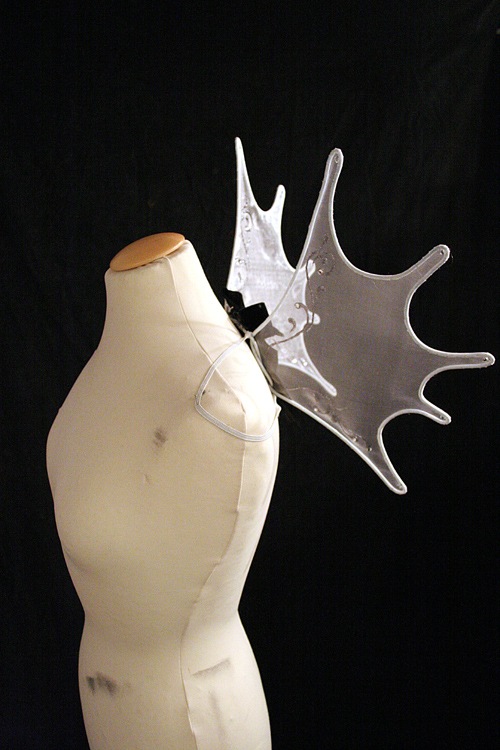
Please note that these pictures are really old (and I’m aware the shape is….weird?) I’m aiming to make new and better pictures in the future. You can still get a good understanding of those though.
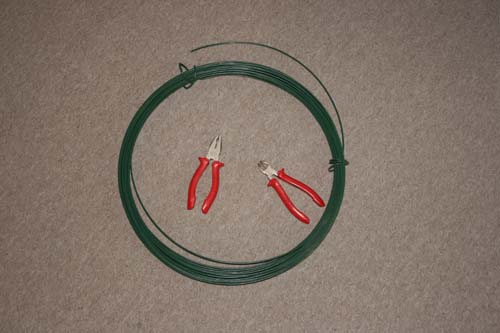
I’m using materials that are neither costly, nor hard to come by. You can find them in any home-improvement or craft store. For the frame I mostly use gardening wire. This wire is covered in a plastic/rubber coating. I found this easier to glue on than metal wire. If you wan, you can also use steel wire. I personally wouldn’t use aluminium, because it’s very soft and bends very easily. This might sound nice for the working process, but you don’t want your wire to bend once you touch another person at a convention!
You also need some translucent fabric. Organza is easy to work with, as it is translucent, but also a bit stiff. It won’t show much of the glue on it later either! If you’re confident you can also try chiffon or even a light silk. Or a stretchy mesh fabric or tulle. For starters though, I recommend organza.
Pliers and a wire cutter are very helpful too. If you don’t own any, you might want to invest in them. They’re helpful in a lot of crafting scenarios.
Last but not least: Paint and GLITTER for the decorations! All the rhinestones and glitter powder and paints! We’re Fairies, right? We need that glitter. I’m using acrylic paints for the most painting parts. But you can also use spray paints or airbrush for gradients, or fabric paints.
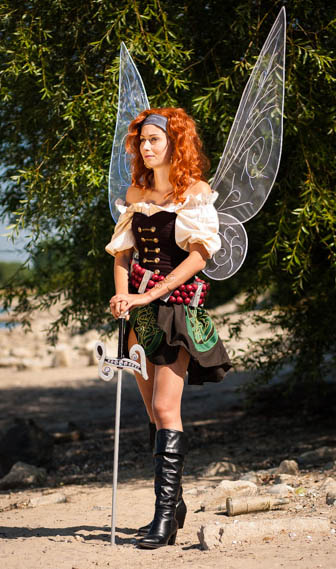
(Picture shows Cosplayer Grusli wearing her Pirate Fairy Costume with wings made with this technique. Picture shot by me)
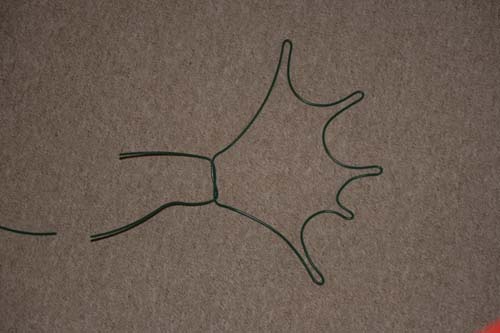
If you want, you can sketch out the shape of your wing on a piece of paper. Or you just bend it directly the way you want. It’s important that the frame lies as flat as possible on the ground. You will most likely buy your wire rolled up. Take your time to straighten it properly, so it is flat. This will help immensely with the process of putting the fabric to it.
Then bend your frame in your desired shape. If the wings are huge, you might need extra support inside them. So I recommend you part your design in smaller parts that aren’t heavy or very long.
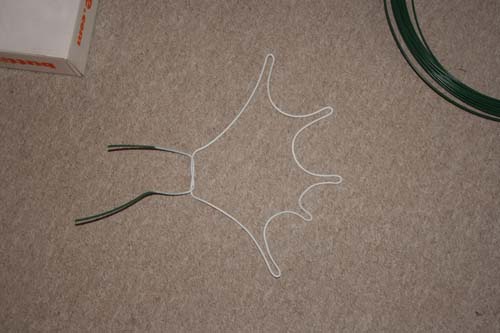
Your wings have to be connected in some way. You can either do that like I do here, by weaving the wire ends into each other at the endings. Or you can bend the wire so that the endings are sticking out at the bottom, like in the graphic. I recommend use the second method. I’m going to explain more detailed why in “Connecting the wings”.
Once you’re done, you can paint your frame with the color of your fabric. This way it doesn’t look weird later. I use acrylic color to do so. If you are using steel wire, you might need to prime the wire first, so that the paint doesn’t rub off later. Of course you can also use Spray paint or airbrush to paint your frame.

Iron your fabric so that it lays nice and flat. The less creases it has, the better. Be careful with the temperature of your iron. Organza is basically plastic, so it melts easily. You can cut your fabric so the size roughly fits your frame, which makes it easier to handle.
In the next step, I cover the wire with glue. Very small frames can be done with one step. However, most of the time you will have to repeat the next step until everything is covered.
Once the glue is on the frame, I gently stroke over it with my finger. The glue spreads nicely and dries just a little bit. This way it’s less liquid and runny.
Important! Do not do this with super glue or two component glue. Superglue WILL glue your fingers to the frame. Use a tool instead, like a piece of cardboard or foam. You can only do this with white/childrens glue without solvents.
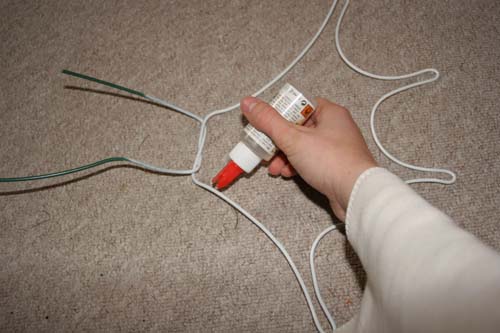
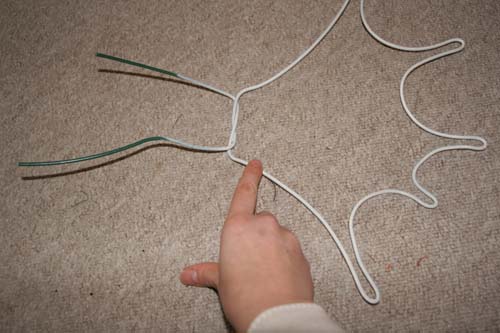
Gently place your fabric as flat as possible over the frame. Be sure it lies flat and doesn’t have creases. Also be sure not to move it too much, because you will smear the glue all over the fabric. If you have big wings, have someone help you.
Now stroke over the glued parts again, so the fabric starts to stick to the frame. Organza is, as I said, easy here, you won’t see where it sticks. On other fabrics the glue may leave stains. I suggest coving those parts with glitter later.
From here glue the fabric step by step to the frame. Once you’re done, let it dry completely.
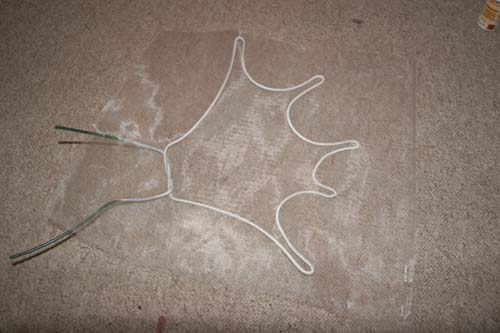
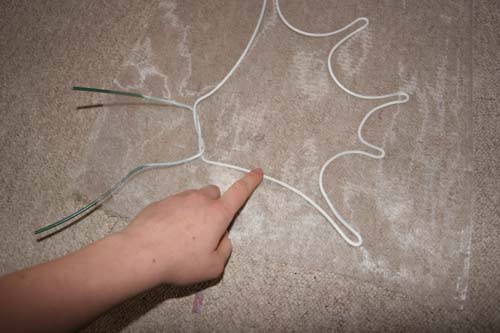
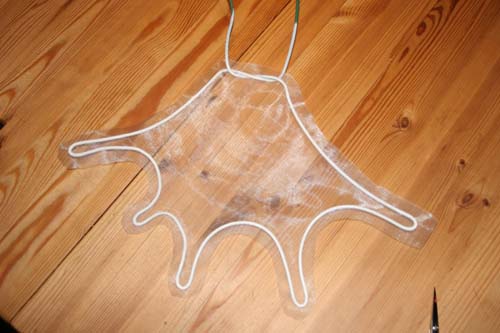
Once the glue is dried, cut out the shape of the wing around the frame, with a distance of about 1cm. We will need those little edges like seamallowance in sewing.
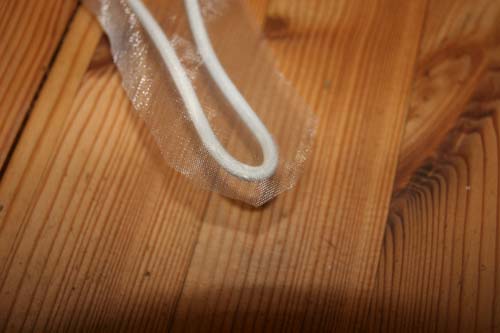
On sharply bent edges, I cut the “seamallowance” a bit shorter.

Then we cut into the seamallowance. Small cuts, in a right angle/horizontally to the frame. I do that about every centimeter.
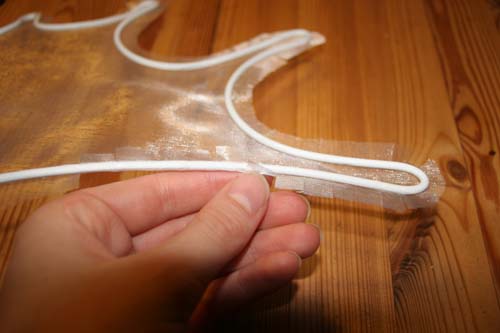
Now we glue them around the frame. I put glue on the frame just like before:
Put some some glue on and stroke it with your finger (careful again, not with superglue).
Then fold the seamallowance over the frame into the glue. Step by step, until everything is folded inwards.
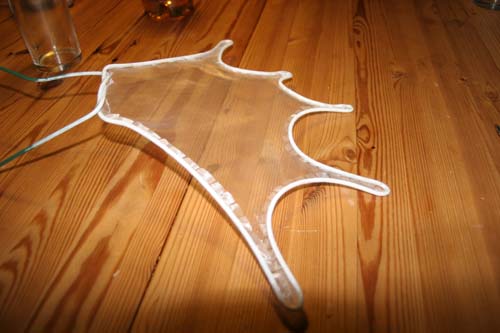
This is how the finished frame with all the seam allowance folded in looks.
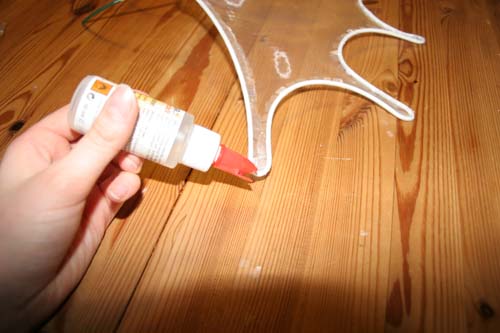
At the edges I apply some extra glue, because they are a sensitive spot. Then, let your wings dry again. You want them really dry. Maybe leave them over night.
The next day, you can cut away the overlapping fabric inside. Cut as close as you can to the wire.
With this, the basic wing is now finished! And the actual fun part comes, decorating your wings. If you have a drawing of your wings, you can use it to map out what patterns you want on them. Or you can put your wing on paper and trace them. Then you can use this to get a sketch for your decorations. Or just freestyle it!

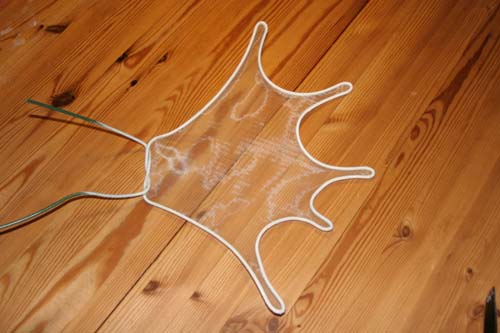
Now that you know how to make fairy wings, you need to connect them. The connections I have in the pictures is semi-smart. I connected them with tape, but if there is a lot of drag on both sides, because you move a lot, they can rip. Also, for this you will need to add straps. The wings can then be worn like a backback (see below).
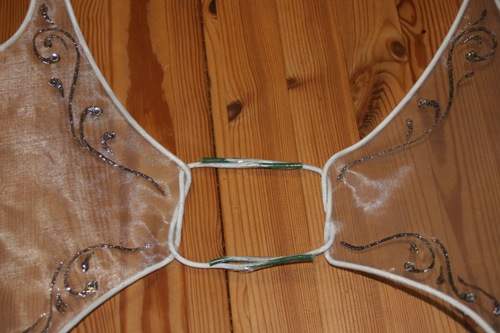
If you left a long wire like I recommended in the start, you can now bend this wire in a u-shape. Put both u-shapes on top of each other and tape them together. You can now either put straps to them, or you can just stuff them in a corset.

If your connection is visible in the back because you use straps, decorate the connection to your liking. You can use flowers, feathers, fabric, whatever you want!
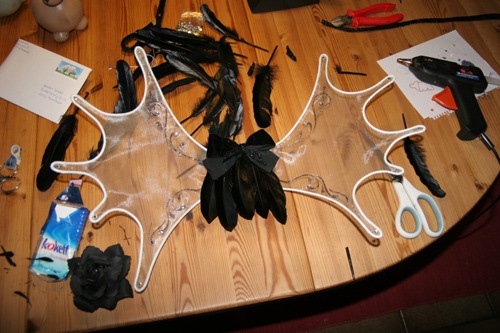
There you go! Now you know how to make fairy wings!
You’re interested in variety crafting? You can check out the blog to find articles and tutorials there! Stay tuned for more in the future!
Curious what cosplay and costuming I have done? Here’s my cosplay overview!
For now you can still find more of my cosplaytutorials on my old portfolio. I’m planning on moving them over, refining them and taking more pictures.